Warm Floors in Bathrooms & Kitchens: What to Know Before You Remodel
Practical guidance for homeowners planning tile or luxury vinyl floor upgrades, covering electrical needs, floor buildup and sequencing, compatible finishes, and how to coordinate with tile setters and electricians for a successful radiant-heat installation.

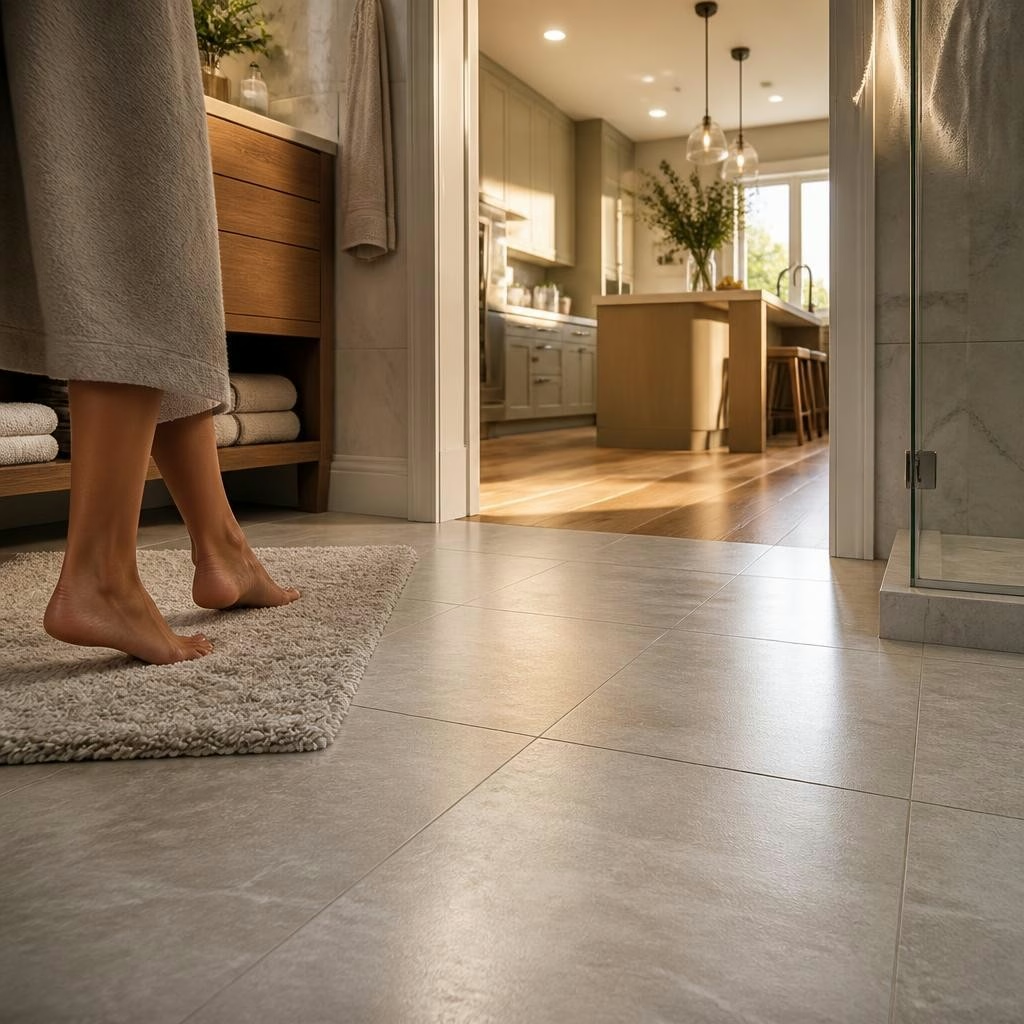
Why consider radiant heated floors for kitchens and bathrooms
Warm floors add comfort and can transform how you experience tile and vinyl surfaces in cold months. Electric radiant systems are silent, unobtrusive, and deliver even surface warmth without fans or visible radiators. For wet or high-traffic areas such as bathrooms and kitchens, radiant floor heating improves comfort underfoot while allowing you to preserve the look and layout of the room. SmartHeat’s approach emphasizes zoned control and smart thermostats, which means you can heat only the areas you use and keep energy use efficient.
Basic electrical requirements to plan for
Electric radiant floor systems require proper electrical planning: a dedicated circuit, compliant wiring, and GFCI protection in bathrooms or other wet zones. An installation also typically needs a thermostat and, in many cases, a control system or time-of-use scheduler if you intend to take advantage of off-peak rates. These electrical tasks should be performed by a licensed electrician who will confirm circuit capacity, breaker sizing, and local code requirements before installation begins. Early coordination with your electrician prevents costly rework once the floor is in place.
Understanding floor buildup and sequencing
One of the first questions in a remodel is how much the radiant system will raise the finished floor. Many electric systems are designed to be low-profile and install within thinset or a thin underlayment, but exact buildup varies by product and application. It’s important to determine the finished floor height early so you can address thresholds, cabinetry clearances, and transitions to adjacent rooms. Typical sequencing places the heating mats or panels down after the subfloor is ready and the electrical rough-in is complete, followed by thinset and tile or the recommended adhesive and floor covering for vinyl.
What works best: tile vs. luxury vinyl
Tile is an excellent match for electric radiant floors because it conducts and stores heat efficiently. Luxury vinyl tile (LVT) can also be compatible, but you must confirm the flooring manufacturer’s maximum allowable floor temperature and approved adhesives or installation methods. Always check the finish manufacturer’s installation guidelines and share those with your radiant-heating installer so they can select an appropriate system and set a safe operating temperature. Avoid assuming every vinyl or wood product is heat-rated—verify before proceeding.
Coordinating with tile setters and electricians
A smooth remodel depends on clear roles and timing. Provide the tile setter with the radiant layout so they know where mats, panels, and temperature sensors are placed. The electrician should complete conduit, thermostat wiring, and connection points before the tile crew proceeds. Discuss waterproofing strategies in bathrooms early: some installations place the heating element above a waterproof membrane, others below, depending on the system and tile method. Agree on access points for sensors and the thermostat wiring to avoid cutting into finished surfaces later.
Installation details that matter on the job
Key installation details include accurate subfloor preparation, proper thinset or adhesive for the chosen floor covering, correct placement of floor sensors, and attention to movement joints and transitions. Use of uncoupling membranes or manufacturer-recommended underlayments can reduce the risk of tile cracking and help the system perform as intended. Verify that the installing team documents sensor locations and thermostat wiring so future service or troubleshooting is straightforward. Small coordination steps at this stage prevent common post-install issues.
Final checklist and how SmartHeat can help
Before you commit, check these items: confirm the floor finish is rated for radiant heat, have a licensed electrician evaluate your panel capacity, establish finished floor heights and transitions, and set a clear schedule with your tile setter. SmartHeat designs and installs electric radiant systems and works with homeowners to integrate thermostats and zoned controls as part of a remodel. Customers consistently report comfortable, even warmth and long-term reliability from these systems; one long-term customer specifically praised having warm floors at home and the dependable performance of the panels across multiple projects. If you’re planning a bathroom or kitchen remodel, early planning and coordinated trades will deliver the best result—contact SmartHeat to discuss design considerations for your project.
Customer review


Article by
SmartHeat
SmartHeat – Radiant Heating & Snow Melt Systems Silent. Motionless. Invisible. Since 2007, SmartHeat has designed and installed electric radiant heating systems for both residential and commercial projects across the U.S. We specialize in heating solutions that are efficient, seamless, and unobtrusive — including: In-floor heating In-ceiling heating (including custom configurations) Concrete slab heating systems Automated snow & ice melt systems for driveways, walkways, parking lots Thermostats & smart control systems We focus on energy efficiency, comfort, safety, and aesthetics. Our systems use off-peak electricity, zoned control, and sensors to reduce costs. There are no noisy fans, no visible radiators, and minimal maintenance.