Radiant Heat for New Custom Homes: Key Decisions to Make Before Framing
A practical guide for homebuilders and homeowners explaining the essential choices—system type, panel placement, zoning, electrical planning, and thermostat layout—to coordinate radiant in-floor or in-ceiling heating with your builder and electrician before framing begins.

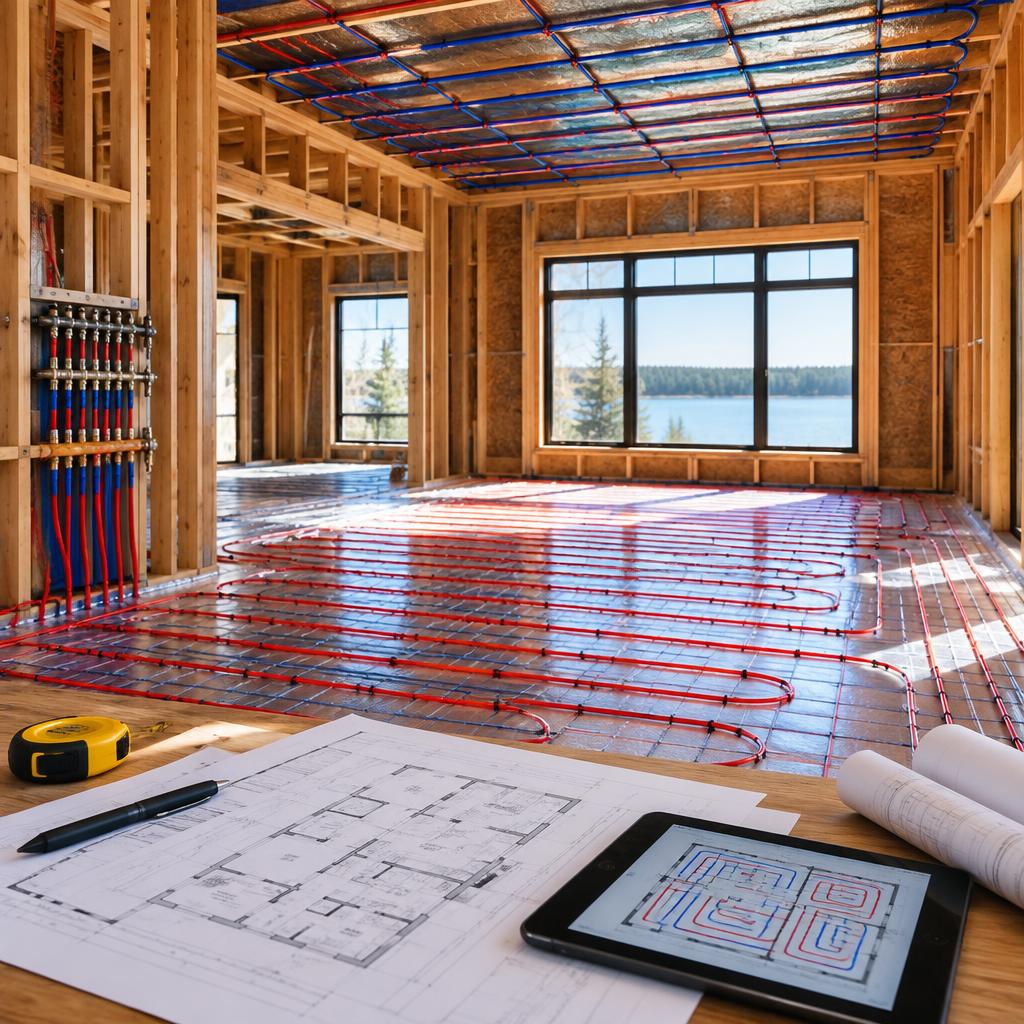
Why plan radiant heating before framing?
Radiant heating systems—whether in-floor or in-ceiling—are easiest to integrate when the project team makes decisions early. Framing is the last stage where wall and floor locations, chase runs, and mechanical chases are established without costly rework. Early planning reduces change orders, ensures clean electrical routing, preserves finished floor assemblies, and gives your builder and electrician the time they need to coordinate with the radiant system designer.
Pick the right system type for each area
Decide which spaces will use in-floor panels and which will use in-ceiling panels. In-floor radiant is often chosen for bathrooms, living areas, and bedrooms where warm floors are a priority. In-ceiling panels can be an effective option where floor buildup is a concern or where retrofitting floor systems would be difficult. Consider how each choice affects floor/ceiling assemblies, insulation strategy, and finishes so those details can be reflected in framing and subfloor construction.
Map panel locations and avoid conflicts
Create a panel layout that follows room functions and furniture placement. Avoid installing panels directly under fixed cabinets, islands, built-in benches, or other permanently covered areas. Mark the intended panel areas on framing plans so joist runs, blocking, and subfloor penetrations line up correctly. For multi-use spaces and workshops, plan for even heat distribution rather than concentrating panels in one spot.
Design sensible zoning and thermostat placement
Plan zones around how spaces are used and occupied—separate zones for frequently used living spaces, guest rooms, and unoccupied areas reduces energy use and improves comfort. Decide thermostat locations now: place thermostats on interior walls away from direct sunlight, drafts, or heat sources and provide clear wiring paths to those locations. If you want individual room control, note that on the plans so wiring and conduit can be roughed in during framing.
Coordinate electrical planning with your electrician
Radiant electric panels and their controls require dedicated circuits, appropriate breaker capacity, and a central control location. Have your electrician perform load calculations and reserve panel space early. Identify the preferred location for the system control panel and make sure there is provision for any communication wiring or sensors. If you plan to use off-peak scheduling or smart controls, note that so the electrician can plan for any extra wiring or interface points. Early coordination avoids last-minute panel relocations or expensive conduit runs.
Bring your builder and SmartHeat into the conversation early
Make sure your builder and electrician are familiar with the specific radiant product you plan to use and include the radiant system on framing drawings and trade coordination lists. SmartHeat’s installers often work with builders and electricians to explain installation needs and layout details; customers have reported that SmartHeat staff readily educated project partners and supported installations to completion. Early engagement from all parties keeps the schedule smooth and prevents misunderstandings during rough-in.
Pre-framing checklist to finalize with your team
Before framing starts, confirm the following items on your project plans: chosen system type for each space (in-floor vs in-ceiling), panel layout and areas to avoid, defined heating zones and thermostat locations, location for the system control panel and sensor wiring paths, note for electrician to perform load calculations and reserve breaker/panel space, any special floor or ceiling build-up requirements to accommodate panels, and who on the project (builder, electrician, SmartHeat) is the point of contact for installation questions. Having these items documented on the drawings will make installation straightforward and reduce surprises during finish work.
Customer review


Article by
SmartHeat
SmartHeat – Radiant Heating & Snow Melt Systems Silent. Motionless. Invisible. Since 2007, SmartHeat has designed and installed electric radiant heating systems for both residential and commercial projects across the U.S. We specialize in heating solutions that are efficient, seamless, and unobtrusive — including: In-floor heating In-ceiling heating (including custom configurations) Concrete slab heating systems Automated snow & ice melt systems for driveways, walkways, parking lots Thermostats & smart control systems We focus on energy efficiency, comfort, safety, and aesthetics. Our systems use off-peak electricity, zoned control, and sensors to reduce costs. There are no noisy fans, no visible radiators, and minimal maintenance.